Home Assistance on Raspberry Pi
by Common9899 in Circuits > Raspberry Pi
2141 Views, 4 Favorites, 0 Comments
Home Assistance on Raspberry Pi

To use most smart home devices, you need to download an app, create an account, and link them to an online cloud server. This makes them easy to control, but it also means that your usage data, such as when, where, or how you operate your devices, is stored online and may not be private. If you care about privacy, you can try Home Assistant, a software that lets you manage your smart IoT devices and automate your smart home locally —without any cloud connection or integration.
Home Assistant:
Home Assistant is a free, open-source, and lightweight home automation software that runs on top of Home Assistant Operating System.
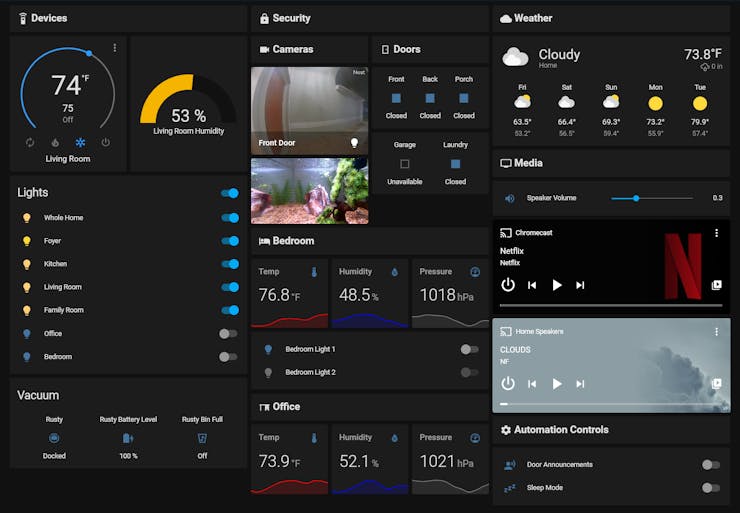
Home Assistant OS can be installed and configured on Raspberry Pi 4, which is a low-power and compact device for running Home Assistant.
Supplies
Hardware Components:-
Get PCBs for Your Projects Manufactured
You must check out PCBWAY for ordering PCBs online for cheap!
You get 10 good-quality PCBs manufactured and shipped to your doorstep for cheap. You will also get a discount on shipping on your first order. Upload your Gerber files onto PCBWAY to get them manufactured with good quality and quick turnaround time. PCBWay now could provide a complete product solution, from design to enclosure production. Check out their online Gerber viewer function. With reward points, you can get free stuff from their gift shop.
Flash Home Assistant OS
Download the Home Assistant OS image for your Raspberry Pi 4 64-bit using this hyperlink.
https://github.com/home-assistant/operating-system/releases/download/7.3/haos_rpi4-7.3.img.xz
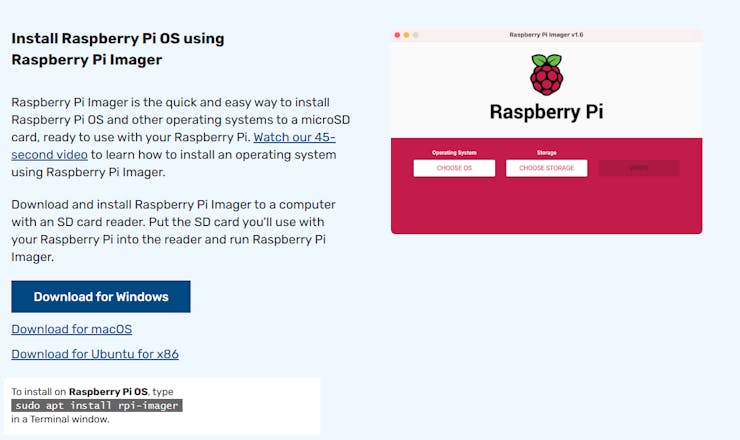
Then download, install, and open the Raspberry Pi Imager tool to flash the Home Assistant OS image to an SD card.
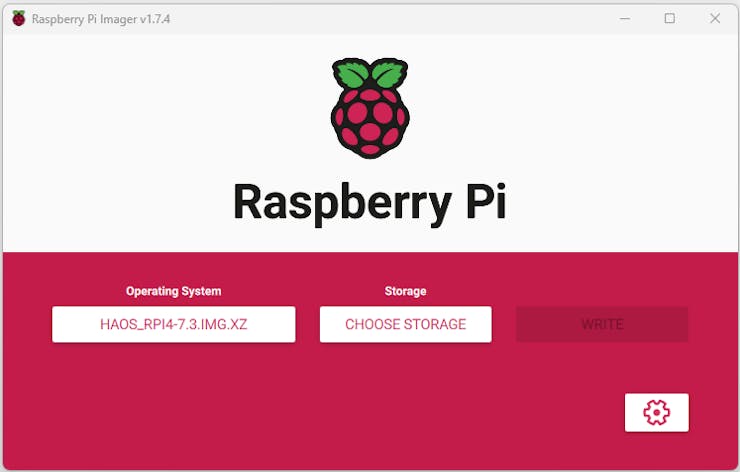
In the Imager tool first select the downloaded OS image.
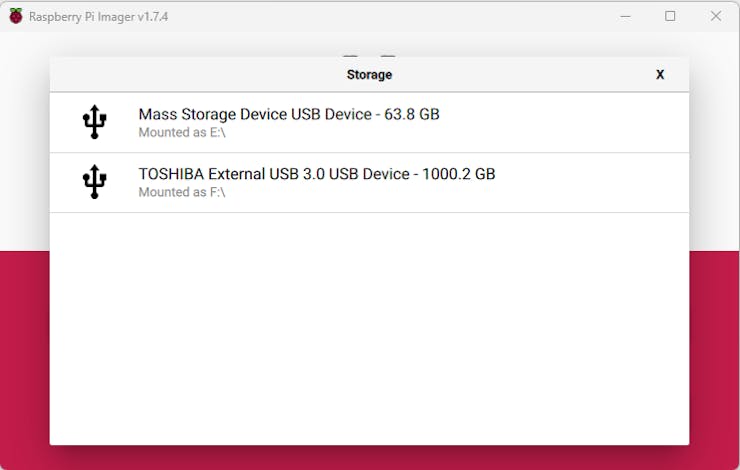
Click Storage and choose the connected Micro SD card.
Click Write and wait for the process to complete. This may take a while.
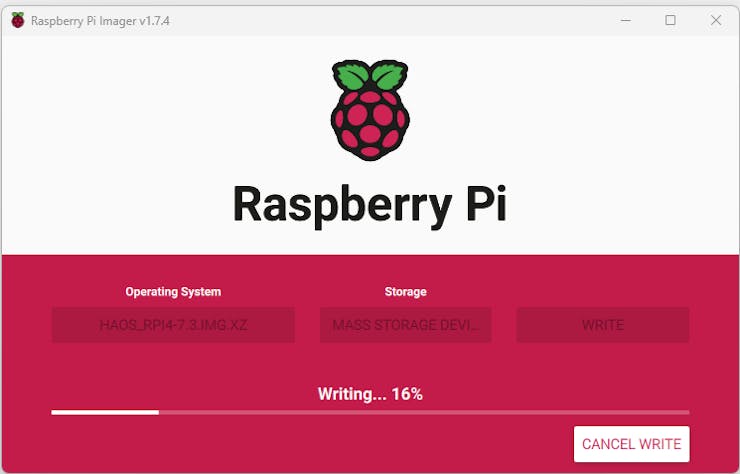
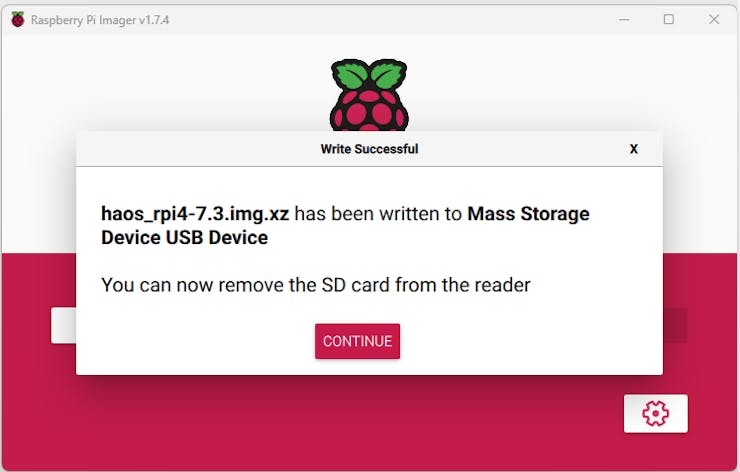
After the Home Assistant OS image is flashed successfully, eject the Micro SD card, and connect it to the Raspberry Pi’s card slot.
Boot Raspberry Pi
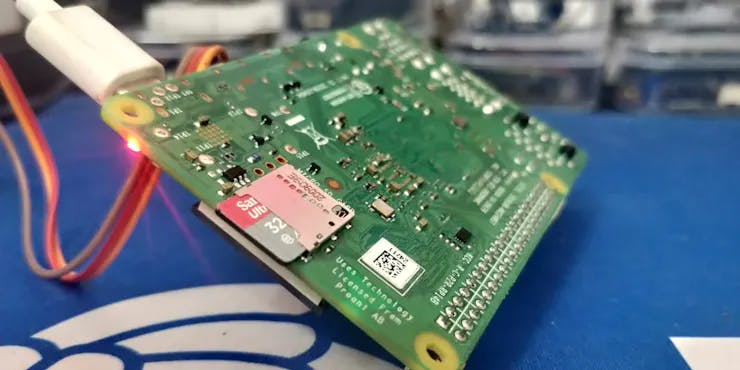
To boot Home Assistant, connect the LAN cable to the Ethernet port on Raspberry Pi. Connect the power supply to turn on the Raspberry Pi. Wait for a few minutes as it boots and updates. This can take up to 10-20 minutes.
Setup Home Assistant
To set up and configure Home Assistant, open the web browser, and go to http://homeassistant.local:8123.
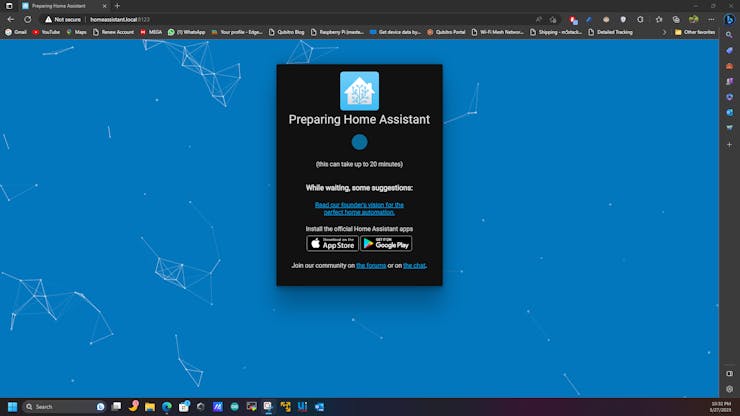
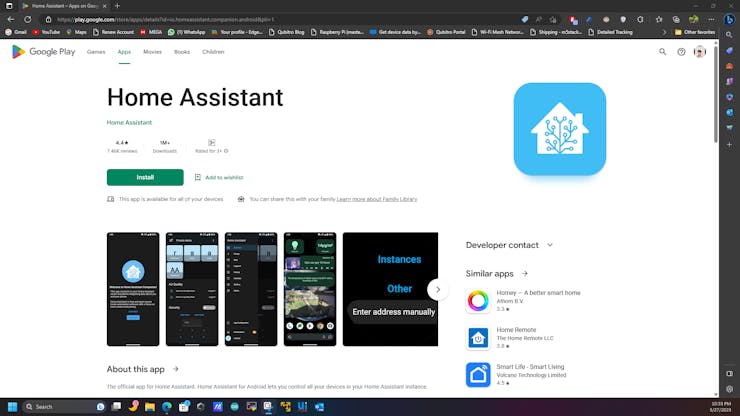
If that standard URL is down open your router admin page and find the IP address of the raspberry pi. Then type the IP address of your Raspberry Pi in the web browser, such as http://xx.xx.xx.xx:8123. Alternatively, you can use the android application for home assistance.
After installing all the updates, the Home Assistant will display the following screen to create an account.
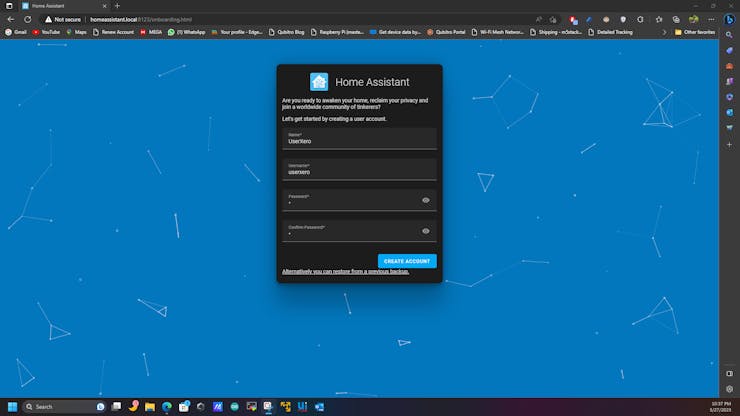
Enter your name, username, and password to create your account. Ensure the password you enter is strong. Then click Create Account.
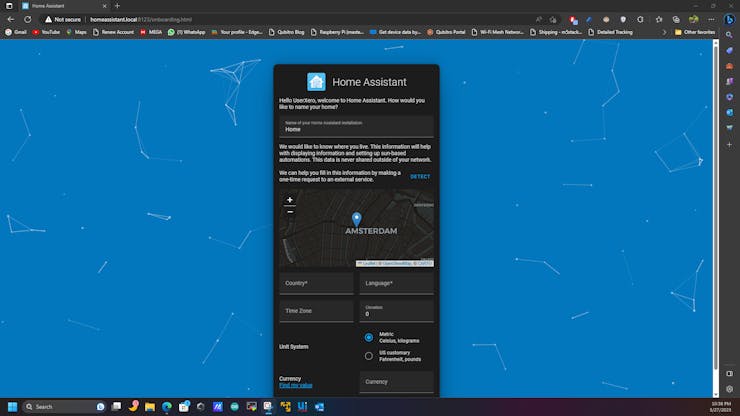
Then choose your location using the Detect button, select Unit System, Currency, and click Next.
If there are smart devices in your home connected to your network, Home Assistant will automatically display them for integration. You can select them and set them up or do it later. Click Finish.
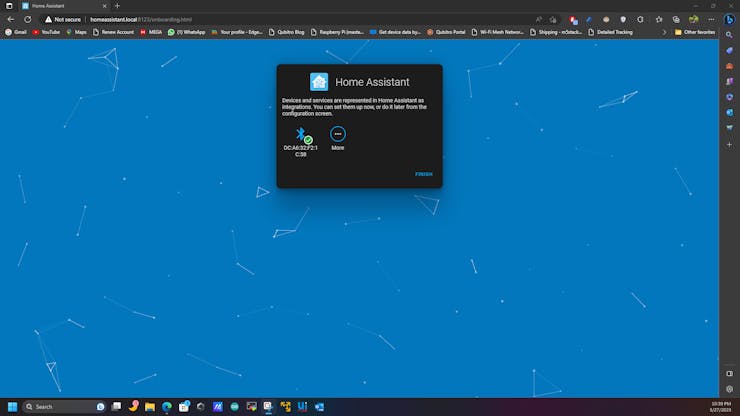
At this stage, the Home Assistant installation and setup is complete.
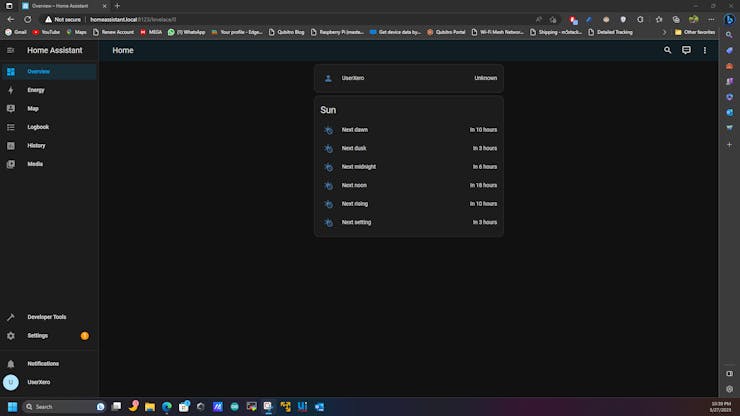
Wrap-Up:
Once you have Home Assistant ready, you can create rooms and add your smart home devices to the Home Assistant dashboard. You can also automate your home based on events or activities. Home Assistant offers various add-ons and integrations that you can install to enhance its features and support more smart home devices.
